
A Pour Stop in Concrete, and How PS=Ø Eliminates the Leave-Out
What a pour stop is, how it differs from a pour strip, why the leave-out behind it sits open for weeks, and the mechanical rebar splice that removes it on reinforced and post-tensioned structures.
The pour stop is where the placement stops, and where the leave-out begins.
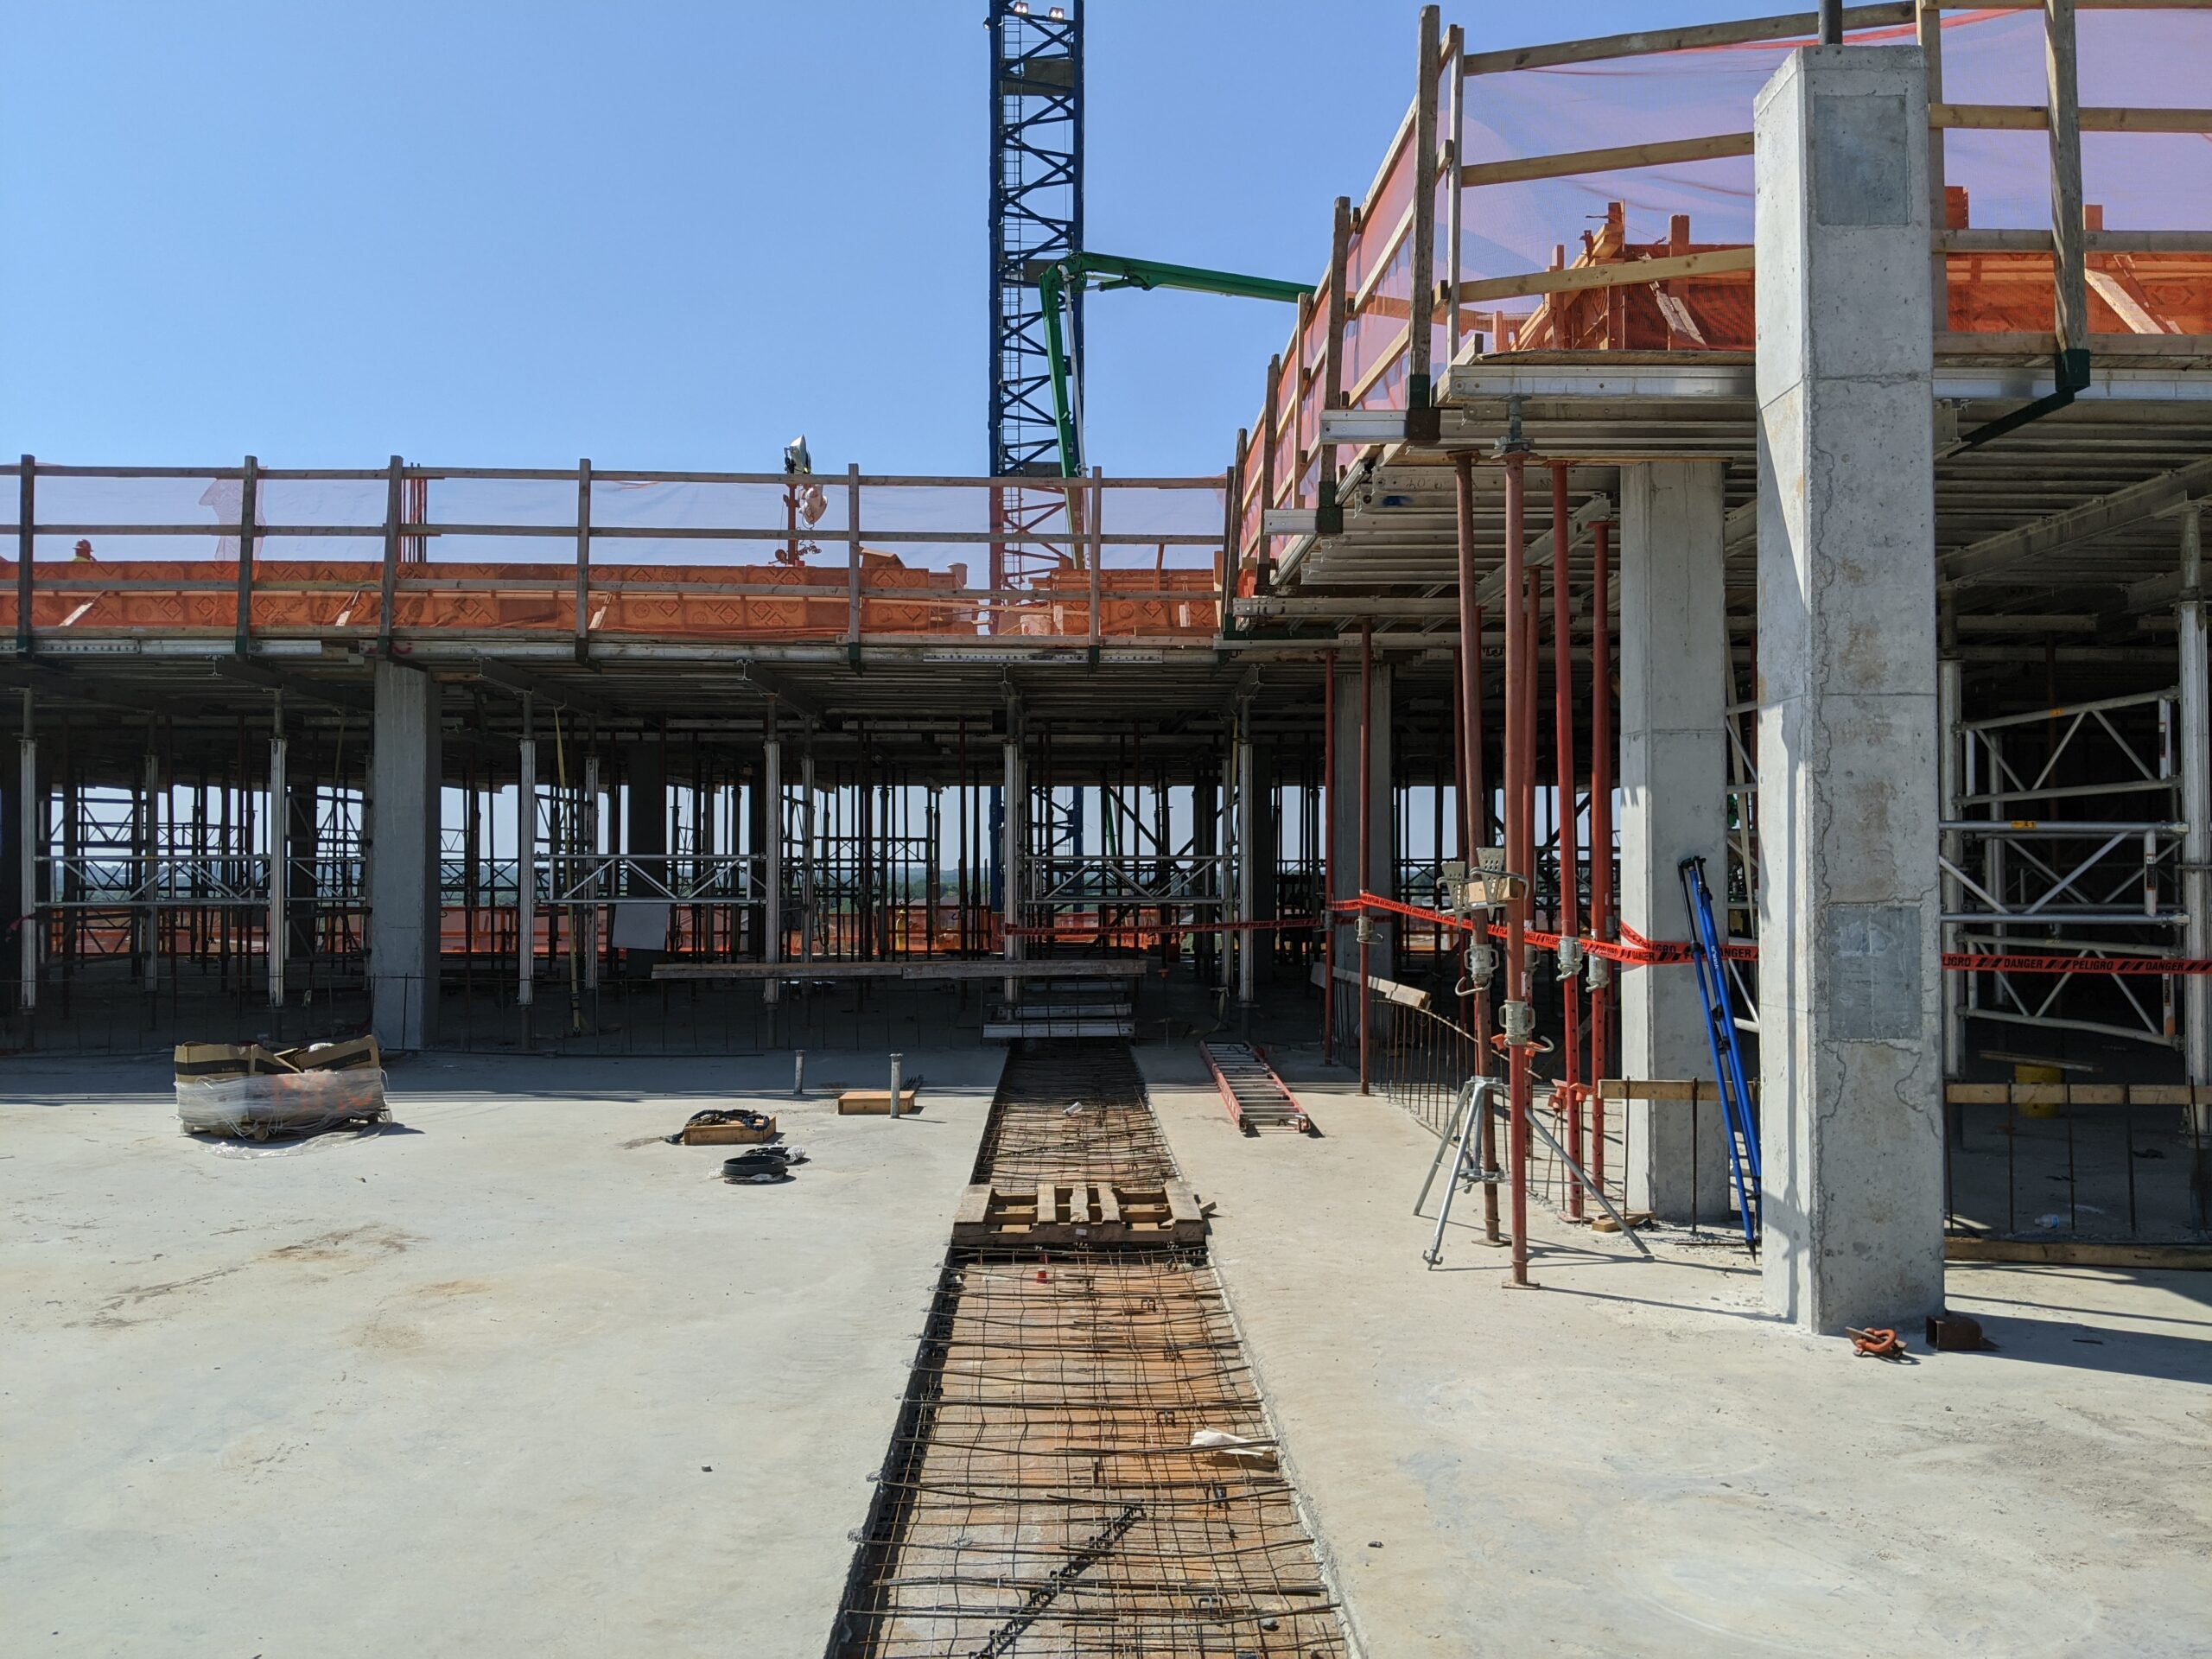
A pour stop in concrete is the bulkhead, the edge form, set where a placement stops at a construction joint, and it is the line a shrinkage leave-out is measured from. Most references define it as a permanent forming detail and leave it there. Ours starts from what our engineers actually detail on live decks: the pour stop is not just a form, it is the seam where the reinforcement gets interrupted and a strip is left open for weeks while the slab shrinks. That open leave-out is exactly the thing PS=Ø was built to remove. Our couplers and closure strip go in where the pour stop would sit, so the slab still shortens naturally but the crew is never leaving an open joint with exposed rebar. PS=Ø is an ICC Approved, ACI 318 Type 1 and Type 2 compliant mechanical rebar splice engineered over 45 years to keep the reinforcement continuous across that seam.
What is a pour stop in concrete?
A pour stop is the edge form at a construction joint where the day's concrete placement stops. The concrete pours up to it and stops there, and reinforcement or dowels pass through the bulkhead so the next placement ties in. The name is literal: it stops the pour. It is one member of the family of concrete movement joints, and the one tied specifically to where a placement begins and ends.
That leave-out is where PS=Ø changes the sequence. Instead of stopping the pour, leaving the strip open, and coming back to fill it, the reinforcement is spliced mechanically across the stop line. The slabs still shorten and cure naturally, then the couplers are grouted to complete a continuous connection. You can see the full assembly on our system page, where the couplers and closure strip replace the traditional pour strip and closure pour. Not sure how your set treats the stop line? Call (800) 355-8414 and our engineers will read the sheet with you.
The pour stop detail, part by part
A pour stop detail is more than a bulkhead line on a drawing. Break it into its parts and you can see where the leave-out, the wait, and the return pour hide. Here is what actually sits at that seam.
The bulkhead
Also called: edge form, stop form
The physical form set at the edge of the day's placement. The concrete pours up against it and stops there, which is where the name comes from: it stops the pour.
The dowels through it
Also called: keyway, shear key
Reinforcement or dowels pass through the bulkhead so the next placement ties into the last. This is where a pour stop stops being just a form and becomes a structural connection.
The leave-out behind it
Also called: pour strip, delay strip, closure pour
When the design carries a strip left open for shrinkage, the pour stop is the line that leave-out is measured from. The gap sits open for weeks with the rebar exposed at the stop.
The return pour
Also called: closure pour, second placement
The crew comes back later to pour into the gap the pour stop created. That return trip is the cost nobody puts on the bulkhead detail, and it is exactly what PS=Ø removes.
The takeaway for a detailer: the pour stop and the pour strip are two words for the same seam seen from two angles. The stop is the line and form; the strip is the leave-out behind it. For the leave-out itself and the four names crews use for it, see how a pour stop differs from a pour strip.
Pour stop vs pour strip: the line, the leave-out, and the wait
A pour stop stops the pour. A pour strip is the strip of slab left open behind that stop and filled later so the adjacent concrete can shrink first. The whole point is to wait, commonly 30 to 60 days, while the slabs shorten before they are tied together. Here is the traditional sequence at the stop line against the PS=Ø sequence.
| Stage | Traditional pour stop / pour strip | PS=Ø splice |
|---|---|---|
| At the stop line | Bulkhead set, placement stops, reinforcement left exposed in an open gap | Couplers and closure strip set where the pour stop would sit |
| While the slab shrinks | Weeks of waiting, gap open on the critical path | Slab shortens naturally, off the critical path |
| Other trades | Work around an open gap collecting debris | Cross a self-supporting seam, no leave-out |
| Closing it | Return trip to form and pour the closure at the stop | Grout the couplers, seam is continuous |
Every pour stop that carries a leave-out is a place the reinforcement is interrupted, water can enter, and a return crew has to be scheduled. That is the trade the industry has accepted for decades. The alternative is not to detail the bulkhead more carefully, but to keep the reinforcement continuous so the stop line never has to sit open. For the closure-pour side of the same seam, see our page on a pour stop at the closure-pour leave-out.
The concrete pour stop at a construction joint
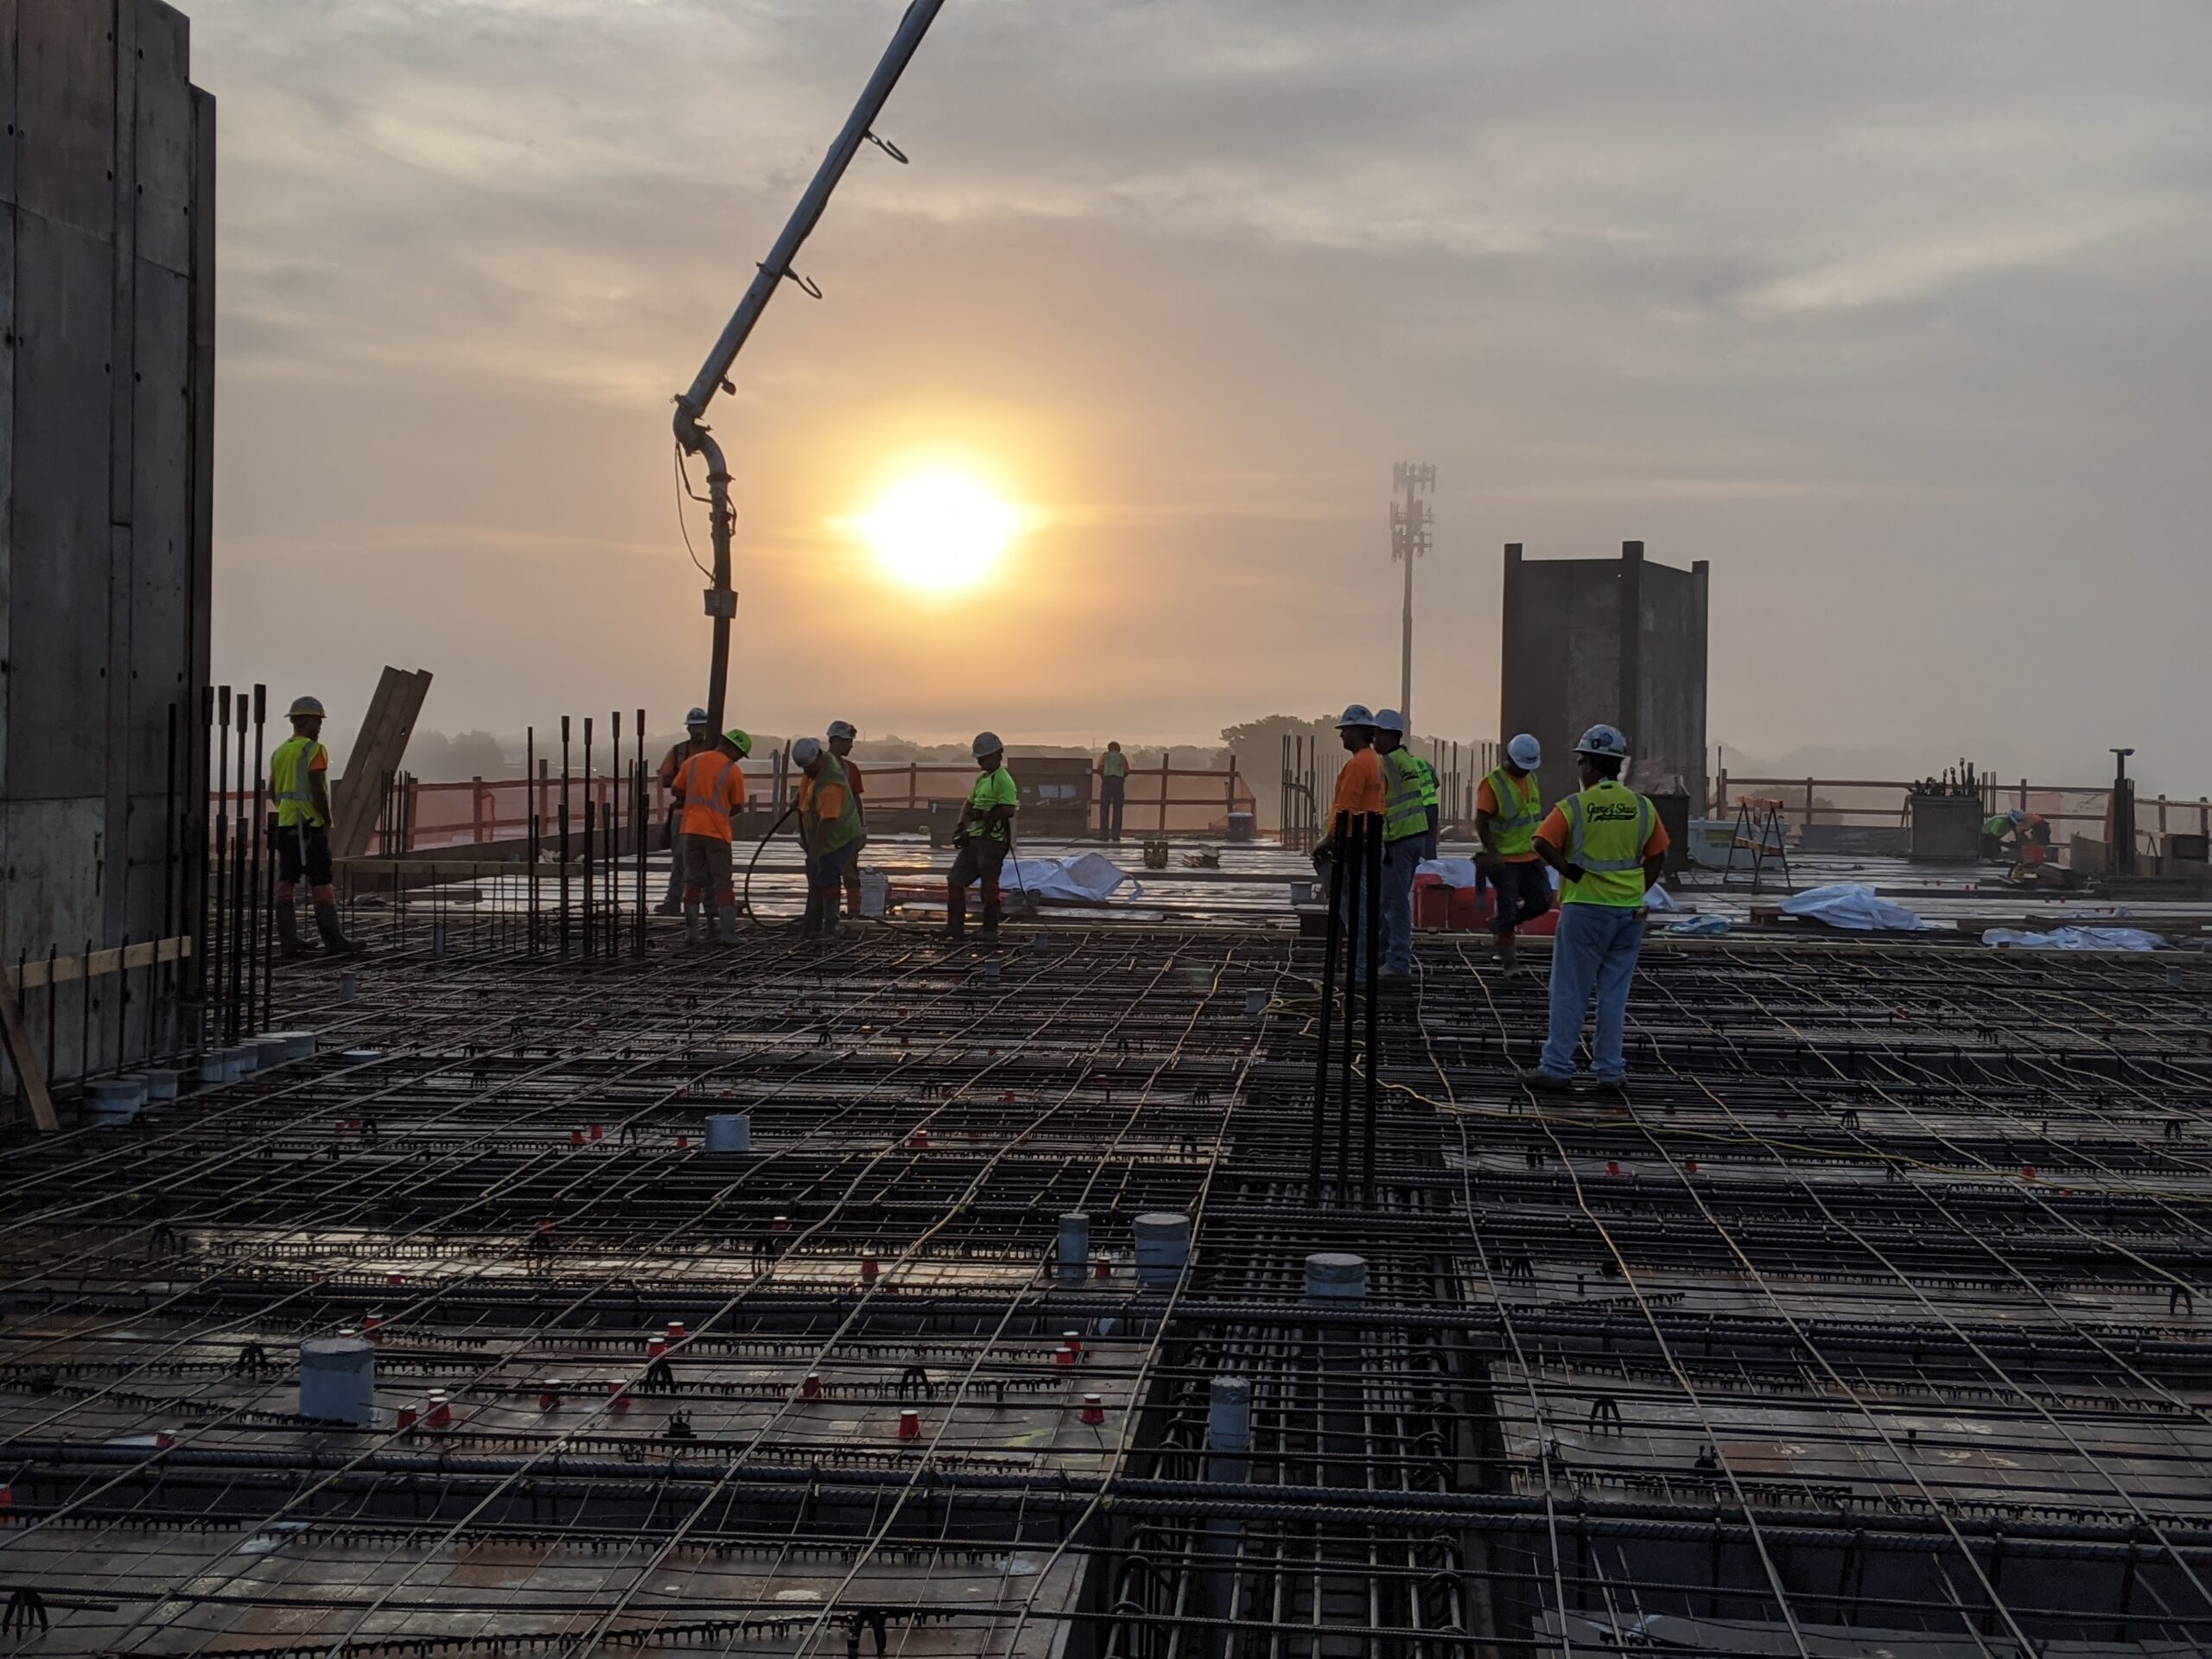
A pour stop lives at a construction joint, the stop-and-start line between two placements poured on different days. The construction joint is the interface; the pour stop is the form and line where one placement ends and the reinforcement is meant to carry across to the next. It sits alongside expansion, contraction, and isolation joints in the broader family of movement joints, but it is the one tied specifically to sequencing placements and relieving shrinkage before the connection is made.
"The pour stop is where the reinforcement is supposed to continue. On a traditional leave-out, it is exactly where it gets interrupted instead."
That interruption is the whole problem. The reason a strip is left open at the stop is to let restraint-to-shortening relieve itself before the slabs are tied together. PS=Ø keeps the movement without the open gap: the couplers let the slab shorten, then grout locks the connection. For the expansion-joint version of the same argument, see how expansion joints are eliminated at the construction joint.
How PS=Ø eliminates the pour stop leave-out
PS=Ø replaces the open leave-out at the pour stop with a self-supporting mechanical splice. The slab still shortens and cures on its own timeline, so you keep the movement the delay strip was there to provide, but the reinforcement stays continuous and the joint closes with a grout, not a return pour. Here is the sequence at a high level.
- 1
Engineered shop drawings
Our engineers detail the splice into your structural design so it carries the reinforcement across the stop line where a pour stop or delay strip would otherwise interrupt it.
- 2
Couplers set where the pour stop would sit
The couplers and closure strip go in exactly where the leave-out would sit, so crews are not leaving an open gap and exposed rebar across the deck for the trades to work around.
- 3
The slab shortens and cures naturally
The concrete goes through its natural volume change off the critical path. No 30 to 60 day open strip behind the pour stop, no waiting on a closure pour to keep the schedule moving.
- 4
Grout the couplers to close the seam
Once shrinkage is complete, the couplers are grouted to finish a continuous, ICC Approved, ACI 318 Type 1 and Type 2 compliant connection. The pour stop stays a line, not an open gap.
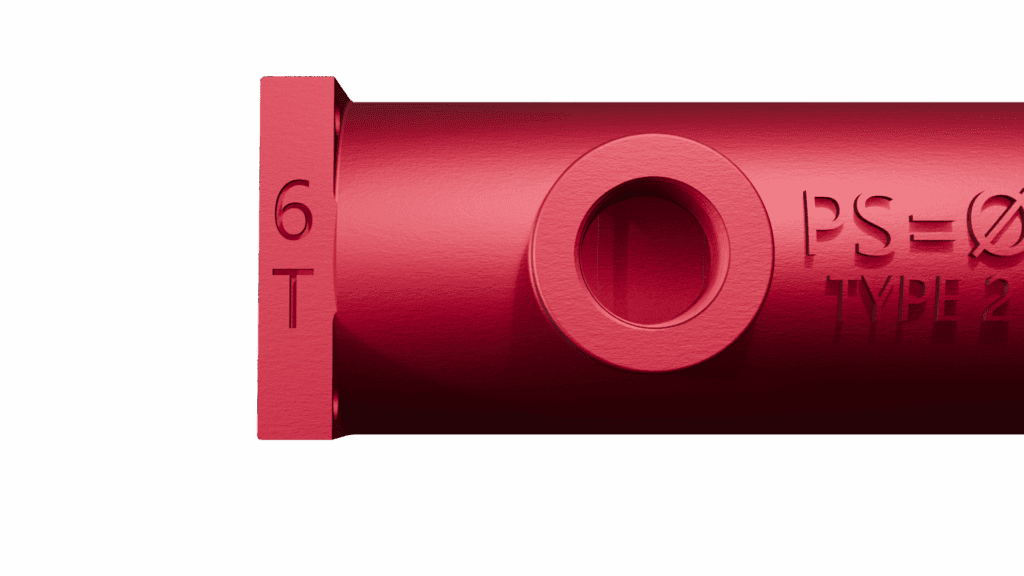
The method has been used to keep reinforcement continuous across the stop line on live commercial jobsites including Gaylord Pacific, The Ottawa Hospital, and IU Health Downtown. See more on the case studies page, then call (800) 355-8414 to talk through your structure.
What removing the pour stop leave-out changes on the jobsite
Taking the leave-out out of the pour stop changes the day for everyone who touches the slab. Engineers hold structural intent without detailing an extra open strip. Placement and finishing crews pour continuously and skip the return trip to close the gap. For a crew-level view of how that plays out, read what eliminating the leave-out means for placement and finishing crews.
Want the full mechanics of the seam, the couplers, the closure strip, and the grouting that replace the leave-out? Our system page walks through eliminating the pour-stop leave-out with a mechanical splice and how the whole assembly installs.